

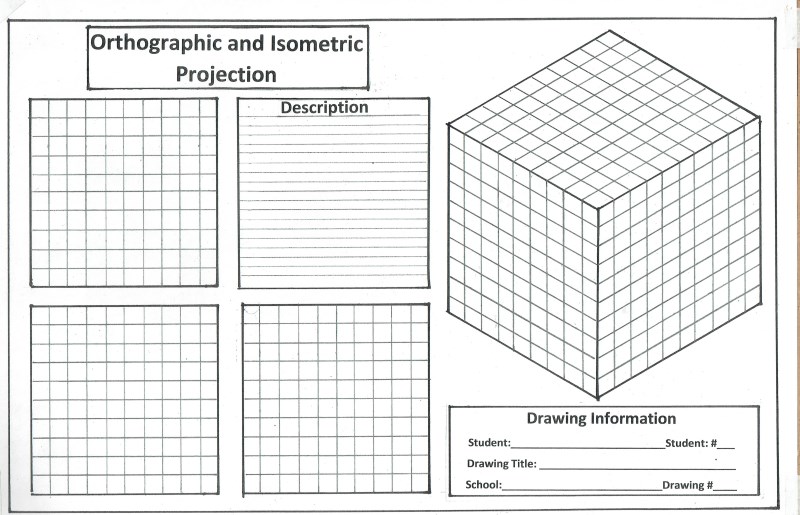
Drawing Number One
Cubee "D", Part A
Cubee "D", Part A
Let's learn how an engineer or architect draws. Most of the time they use a computer and a drawing program called “CAD” to fine-tune and complete their plan.
CAD is an acronym for, (Computer-Aided Design). Computer-aided design software is used by architects, and engineers. But usually these designers start with a piece of paper and an idea.
CAD is an acronym for, (Computer-Aided Design). Computer-aided design software is used by architects, and engineers. But usually these designers start with a piece of paper and an idea.
Getting Started
Drawing Board
Template taped to Drawing Board
Before you start, organize yourself; prepare your brain to work efficiently.
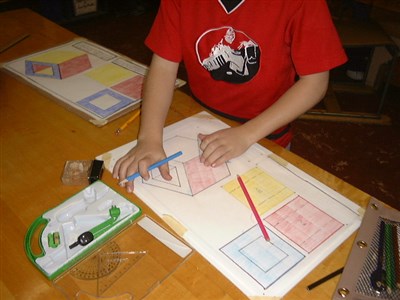
You will need a comfortable work-space. In the center of that space, place your drawing board.
Surrounding your drawing board, organize your pencil, pencil crayons, pencil sharpener, ruler, eraser, scissors and masking tape to make your work easy and efficient.
You will need a comfortable work-space. In the center of that space, place your drawing board.
Surrounding your drawing board, organize your pencil, pencil crayons, pencil sharpener, ruler, eraser, scissors and masking tape to make your work easy and efficient.
Organization
Preparing the Drawing Board


Align and tape the blank white sheet on top of the design template.
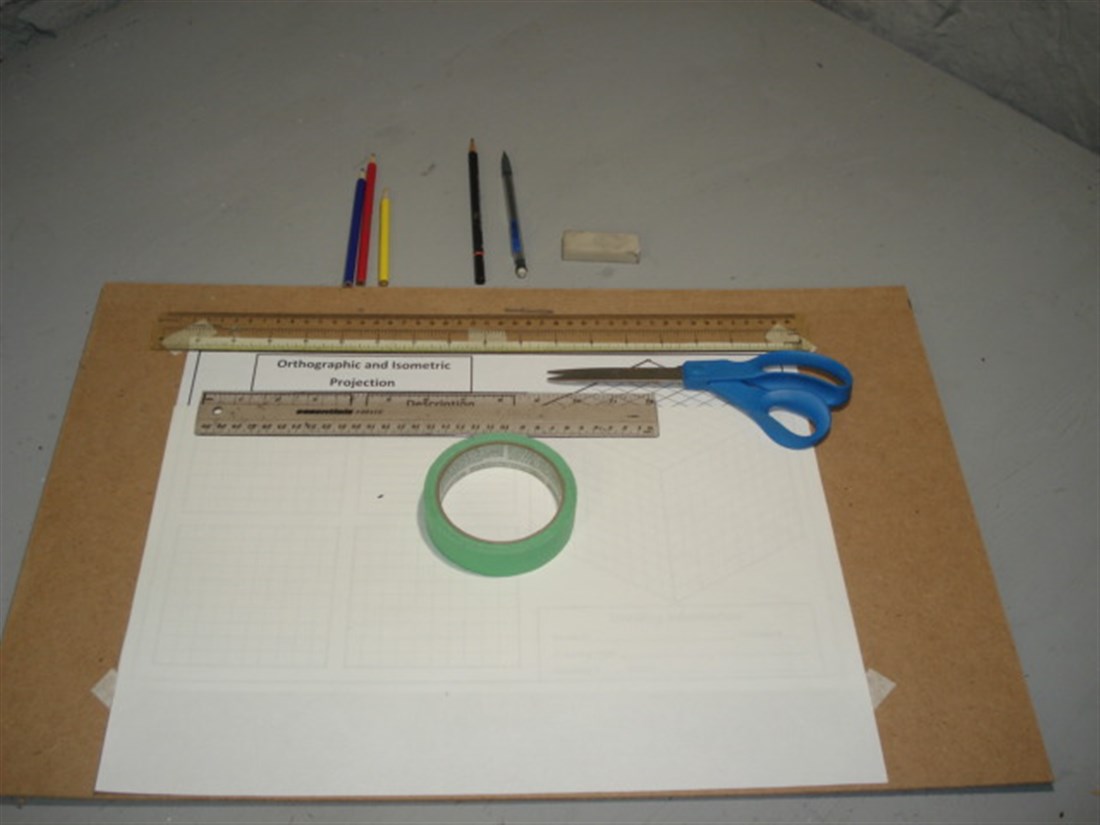
Drawing Board + Drawing Instruments
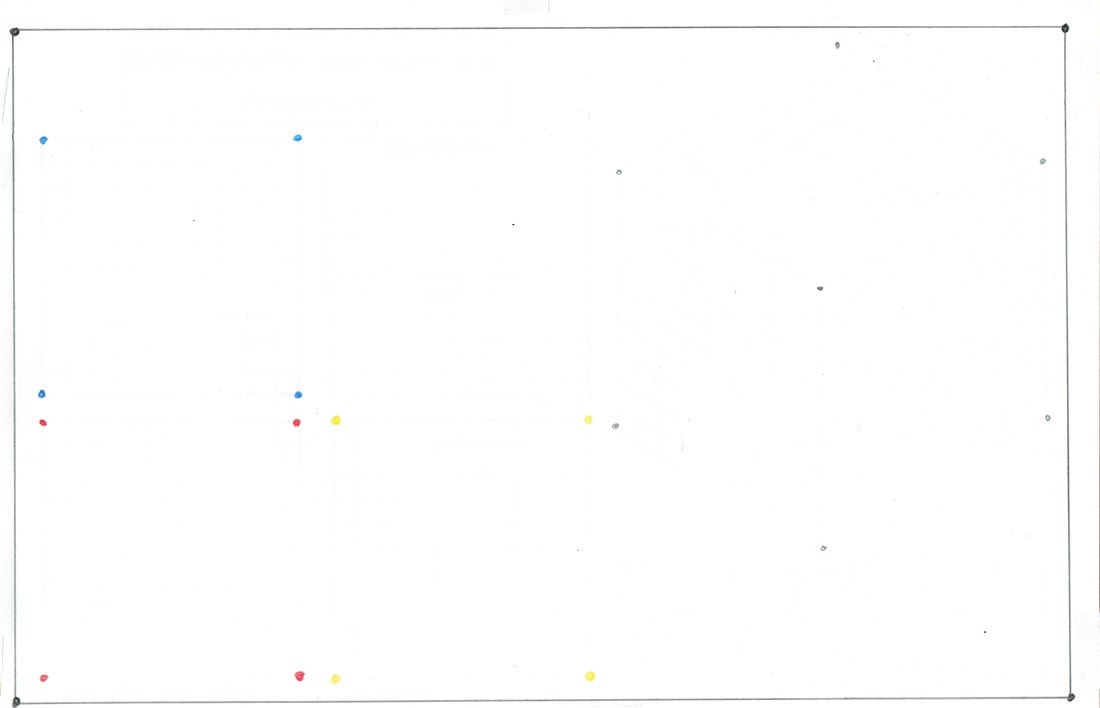
Highlighting the Points
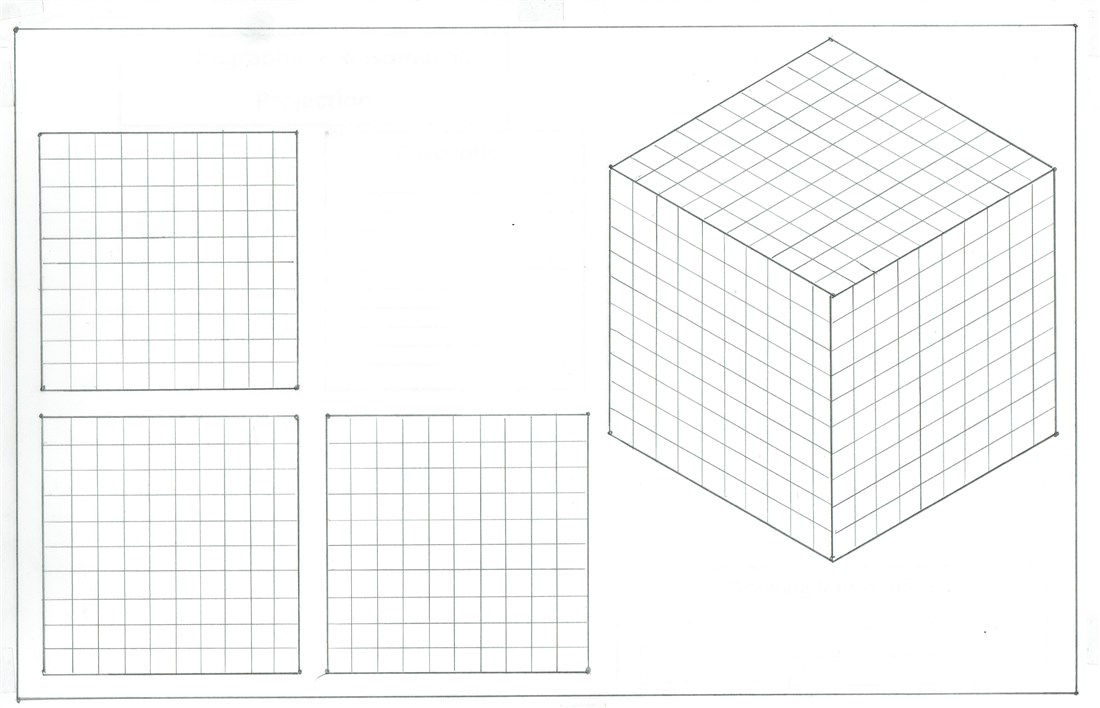
Start with a pencil. Lightly highlight the four border corner points, the front, top and side view corner points on the orthographic views and the seven isometric drawing view points.
After highlighting the points, choose the correct pencil crayon colour for the views, and repeat the highlighting task.
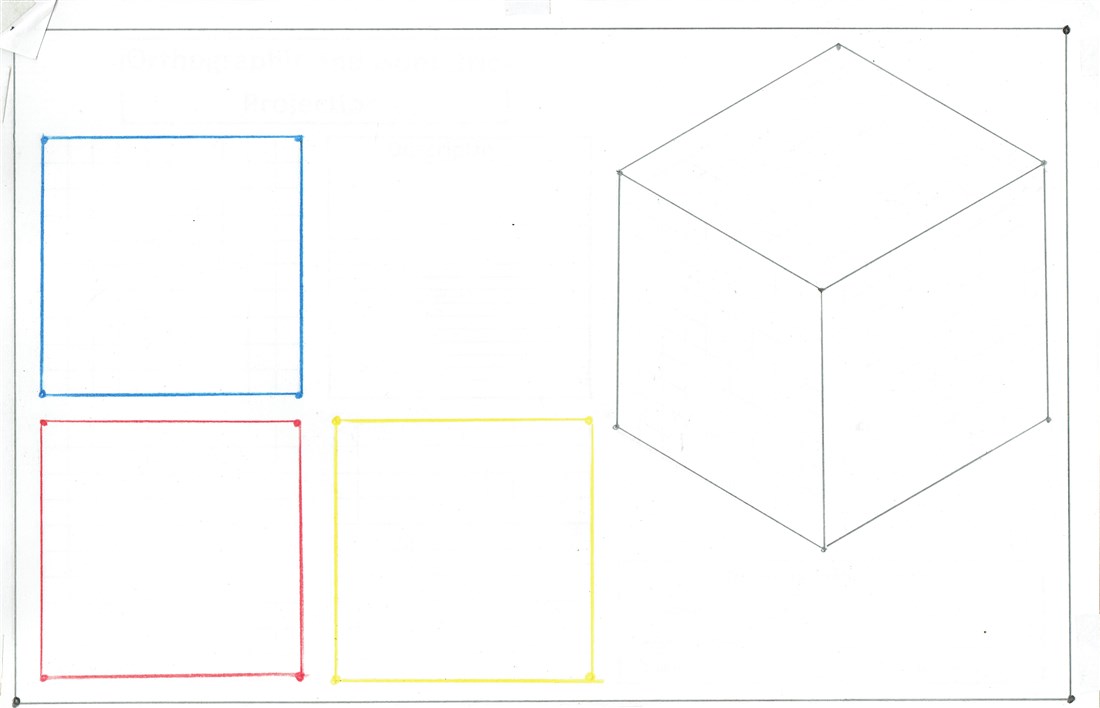
Connecting the Points
Using a pencil or the correct pencil crayons, connect the points with a ruler, ( 30 cm or 50 cm), forming the rectangular border (dark black), the orthographic front, top and side view squares and the isometric cubic decimeter .
Using a pencil or the correct pencil crayons, connect the points with a ruler, ( 30 cm or 50 cm), forming the rectangular border (dark black), the orthographic front, top and side view squares and the isometric cubic decimeter .
Center and neatly tape the template to the drawing board.
Drawing Linear Lines
Being a good designer requires skills. A skill is the ability to do something very well and eventually, through practise, becoming an expert.
One of the most important skills is the ability to draw a straight line from one point to another.
Using a pencil, your task is to draw all the horizontal and vertical lines that form the square centimeters within the front, top and side views. After completing this task, draw all the lines within the three views of the isometric drawing.
Drawing Linear Lines
Shading
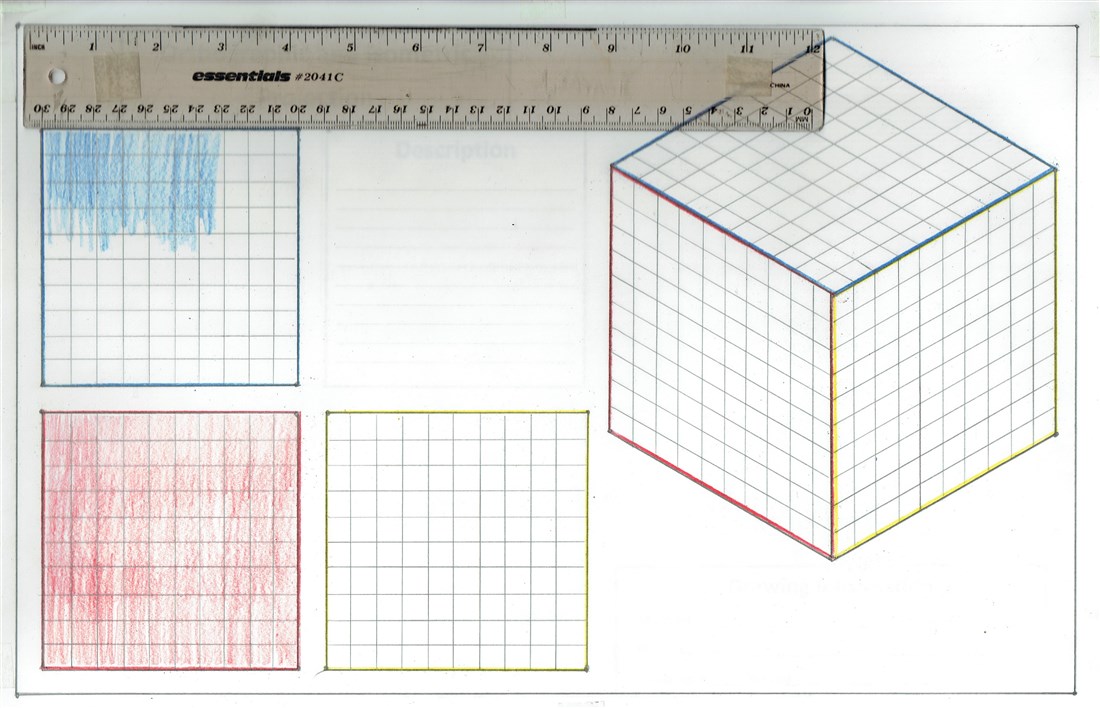
Shading, with pencil crayons, gives your isometric drawing 3D depth. A smooth, even shade requires a lot of time. Practice your shading technique and use a ruler to do it correctly within the border. Shade lightly with the side of your pencil crayon and increase the amount of pressure you apply to the paper to make it darker.
Shading
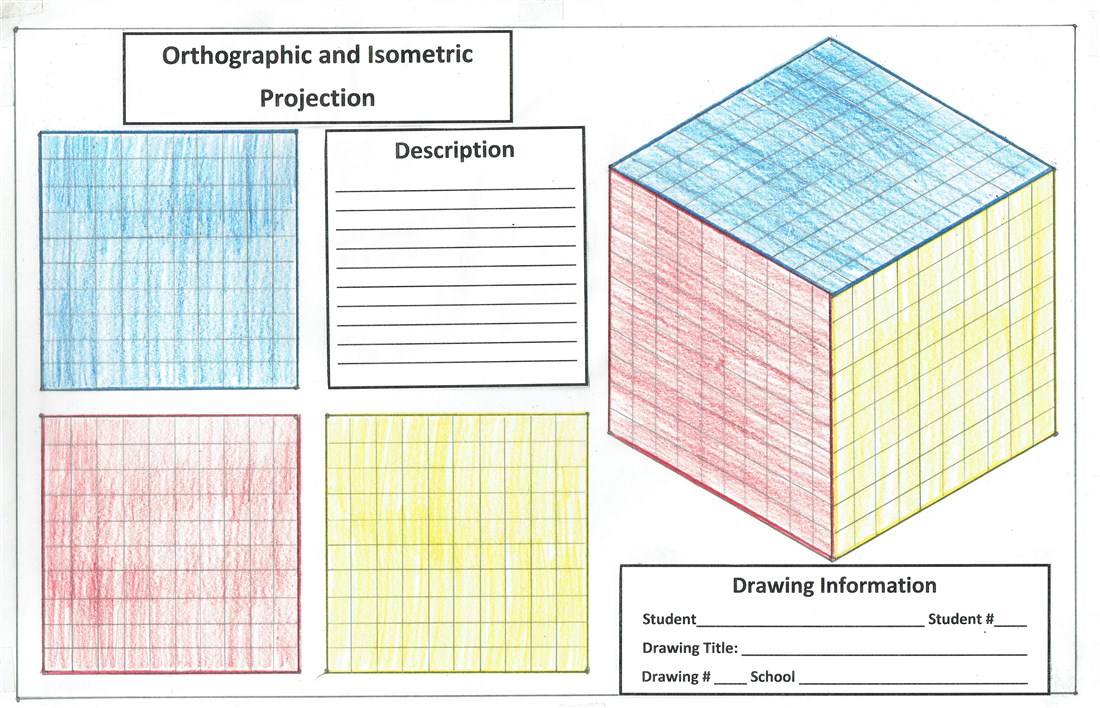
Completing Drawing 1, Part "A"
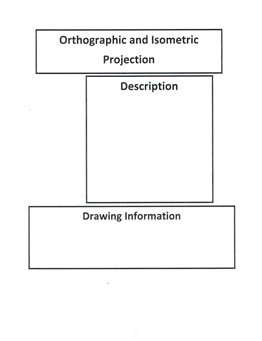
After completing your shading assignment, complete your drawing by giving it a title, a description of the drawing and information about the person who drew the cube.
The computer program, “Word”, is very helpful in designing and drawing text boxes. Word is an advanced word- processor program for storing, using, and arranging writing using a keyboard.
When you are finished you can printout your work. If you have never used word, it is now time to learn how to use it.
In sentence form, describe the cube you have drawn. Give information about its length, width and height in decimeters, centimeters and millimeters.
Include, in your description, the area of a surface in square decimeters and square centimeters. Also, in your description, include the volume of the cube in cubic decimeters, cubic centimeters and for bonus points, cubic millimeters.
If the information box is not large enough, continue on the back by drawing precise guidelines about one centimeter apart and continue your description.
If you want to be a good technologist, investigate, learn, and practice your skills.